Secretos Secrets
|

| |
Material Material | |
| Filtros Filters | Contours |
| FM Tile Tools FM Tile Tools | |
| Programas Programs | Photo Effects Photo Effects |
| Paint Sho Pro Paint Shop Pro |
Este tutorial fue hecho con el Psp X2, puede hacerlo con cualquier versión del Psp. This tutorial was done with the Psp X2, you can do with any version of the PSP. |
1. Abrir una imagen transparente de 700 x 500 pixeles. Open a transparent image of 700 x 500 pixels. |
2. 2. Selecciones/ Seleccionar todo. Selections / Select All. |
3. Abrir Tube cf_celiarenno005*. 3. Tube Open cf_celiarenno005 *. Copiar/ Pegar en la selección. Copy / Paste in the selection. |
4. Herramientas/ Herramienta Selección "K". Tools / Tool Selection "K". Ajustar a la capa. Fit to layer. |
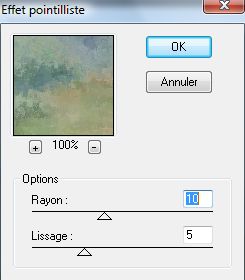
5. Efectos/ Plugins/ Contours/ Effet pointilliste Effects / Plugins / Contours / Effet pointilliste |
|
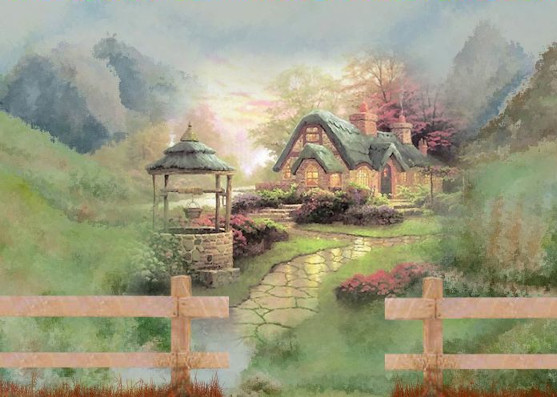
6. Abrir Tube Jean_Misty75. Open Tube Jean_Misty75. |
7. Copiar/ Pegar como nueva capa. Copy / Paste as a new layer. Colocar. Placing. |
8. Abrir Tube FBR_012402fincher3, sólo la valla. Open Tube FBR_012402fincher3, only the fence. |
9. Copiar/ Pegar como nueva capa. Copy / Paste as a new layer. |
10. Colocar abajo a la izquierda. Place bottom left. Duplicar. Duplicate. Espejo. Mirror. Colocar. Placing. |
|
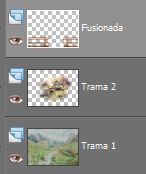
11. Capas/ Fusionar estas dos capas. Layers / Merging these two layers. |
|
12. Efectos/ Plugins/ FM Tile Tools/ Blend Emboss, valores por defecto. Effects / Plugins / FM Tile Tools / Blend embossed, defaults. |
13. Ajustar/ Nitidez/ Enfocar. Adjust / Sharp / Focus. |
14. Mejorar foto/ Eliminación de ruido en un paso. Improve photo / Elimination of noise in one step. |
15. Efectos/ Efectos 3D/ Sombra 1/1 Effects / Effects 3D / Shadow 1 / 1 |
16. Abrir Tube People18_AB. Open Tube People18_AB. Limpiar = Tube secretos. Clear = Tube secrets. Copiar/ Pegar como nueva capa. Copy / Paste as a new layer. Colocar. Placing. |
17. Abrir Tube bicicleta. Open Tube bicycle. Copiar/ Pegar como nueva capa. Copy / Paste as a new layer. Colocar. Placing. |
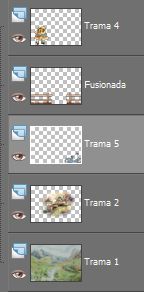
18. Capas/ Organizar/ Bajar, hasta llegar a la capa de la valla. Layers / organize / download up to the layer of the fence. |
|
19. Capas/ Fusionar todo. Layers / Merge everything. |
20. Lo guardamos en formato JPG. What we keep in JPG format. |
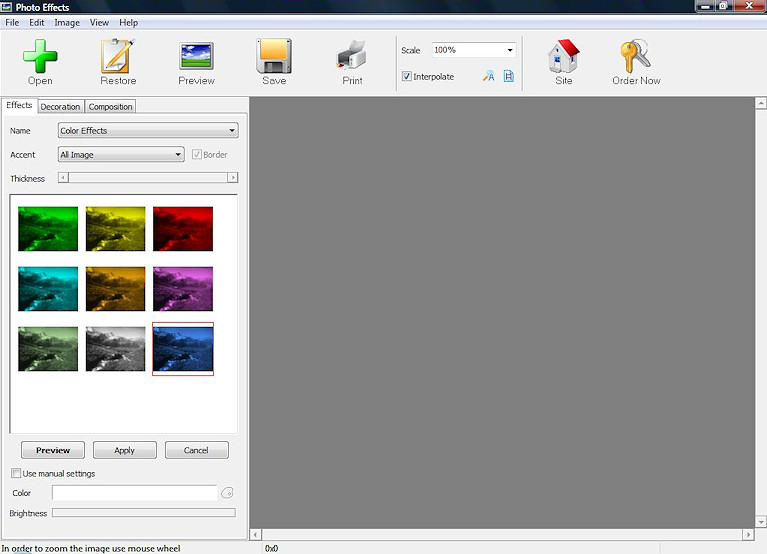
21. Abrir el programa "Photo Effects" Open program "Photo Effects" |
|
22. Pinchar en el icono llamado "Open" y buscar nuestro trabajo. Click on the icon called "Open" and look for our work. Aparecerá la imagen en la ventana derecha. You get the picture on the right window. |
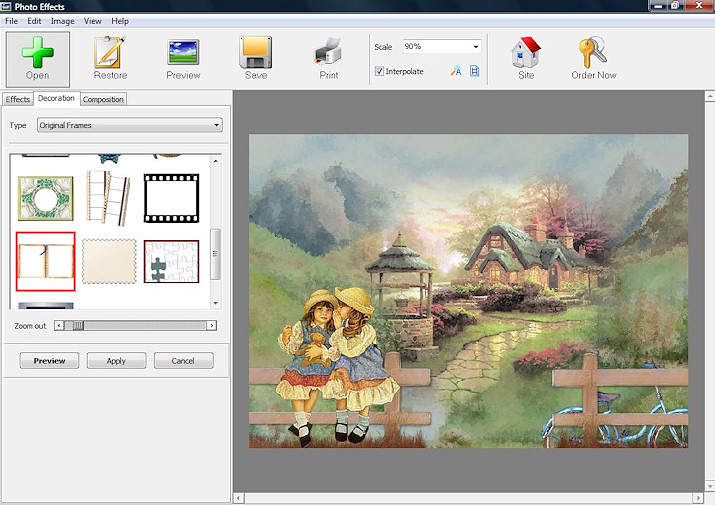
23. En la pestaña izquierda vemos una llamada "Decoration". On the left we see a tab called "Decoration". Pincharemos sobre ella. Click on it. |
24. En "Type" encontraremos varios efectos. In "Type" find several purposes. Seleccionar "Original Frames" y buscar el que interesa. Select "Original Frames" and seek to interest. |
|
25. Una vez seleccionado el efecto, guardar nuestra imagen pinchando en "Save". Once selected the effect, save our image by clicking on "Save". |
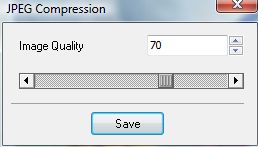
26. Debemos cambiar el tipo de (*.bmp) por .jpg, nos saldrá esta ventana: We must change the type of (*. bmp). Jpg, we will leave this window: |
|
27. Pinchar en "Save". Click on "Save". |
28. Volvemos al Psp. We return to Psp. |
| 29. Abrir una imagen transparente de 700 x 500 pixeles. 29. Opening a transparent image of 700 x 500 pixels. |
30. Abrir la imagen creada en el Photo Effects. Open the image created in Photo Effects. Copiar/ Pegar como nueva capa. Copy / Paste as a new layer. |
31. Capas/ Nueva capa de trama. Layers / New layer of fabric. Añadir su firma Add your signature |
32. Capas/ Fusionar todo. Layers / Merge everything. |
33. Imagen/ Redimensionar 85% Picture / Resize 85% |
34. Aquí termina su trabajo. Here finishes his work. Lo guardamos en formato JPG. What we keep in JPG format. |
Secretos Secrets |
Marga, 13 Mayo 08 Marga, 13 May 08 |
 |